
The publishing service is designed with “the cloud” support in mind, including is the ability to deploy the publishing component itself as a an application service which can bring many benefits to customers such as:
- Cheaper to run compared to VMs. As the new publishing service is so efficient in using CPU and memory. A cheap B1 basic tier would be sufficient to host the service.
- Zero-configuration/out of the box high availability setup, this can be achieved by scaling out the environment using Azure portal. This feature will be covered in details in another post.
Before diving into the details, it’s worth mentioning that the publishing service can be deployed on the same CM server or even on the DB server as IIS website. The closer to the source db the better. However, this post will make more sense if you want to free some load from the CM server or to provide resiliency and avoiding single point of failure scenarios.
The following steps will talk you through the process of installing the publishing service on azure and configuring it to connect to your existing Sitecore database.
Install the publishing service
Please note that the version of the publishing service used in this post is (2.0.0 rev. 170130)
Login to your Azure portal
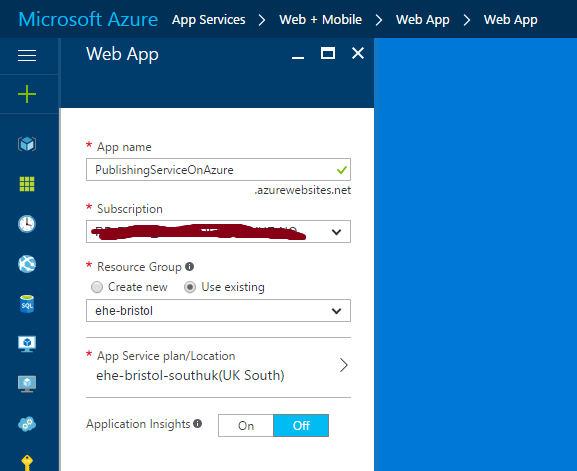
Create a new Azure Web App
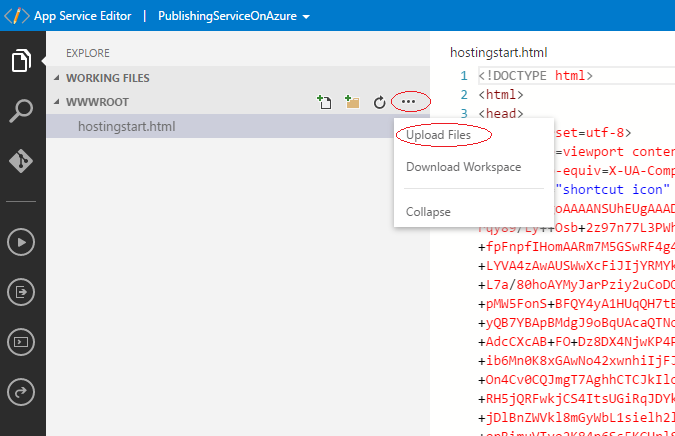
Once the application is created, you will need to download the publishing service zip file from dev.sitecore.net, upload it to Azure, extract and configure the service.
To upload the files you can use FTP. But here I will be brave and just use the Azure portal.
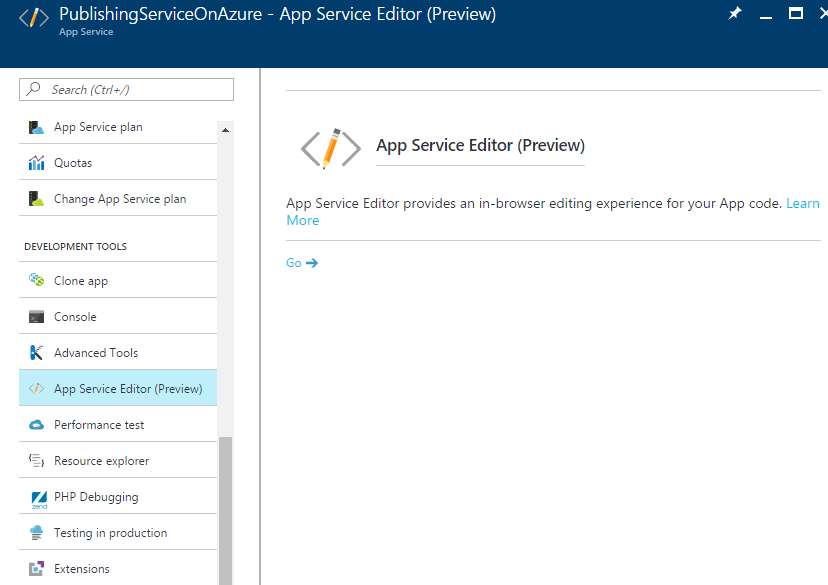
Select App Service Editor under development tools.
Now delete the hostingstart.html file and upload the publishing service zip file.
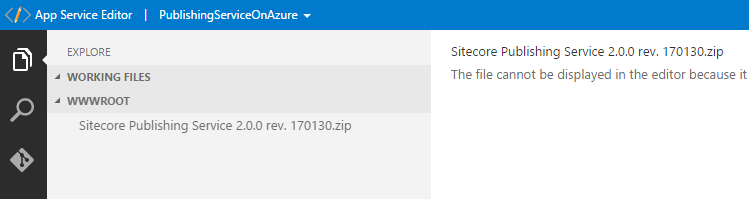
You should see this now
now to extract the files, go to the Azure console and type the following
unzip -o *.zip
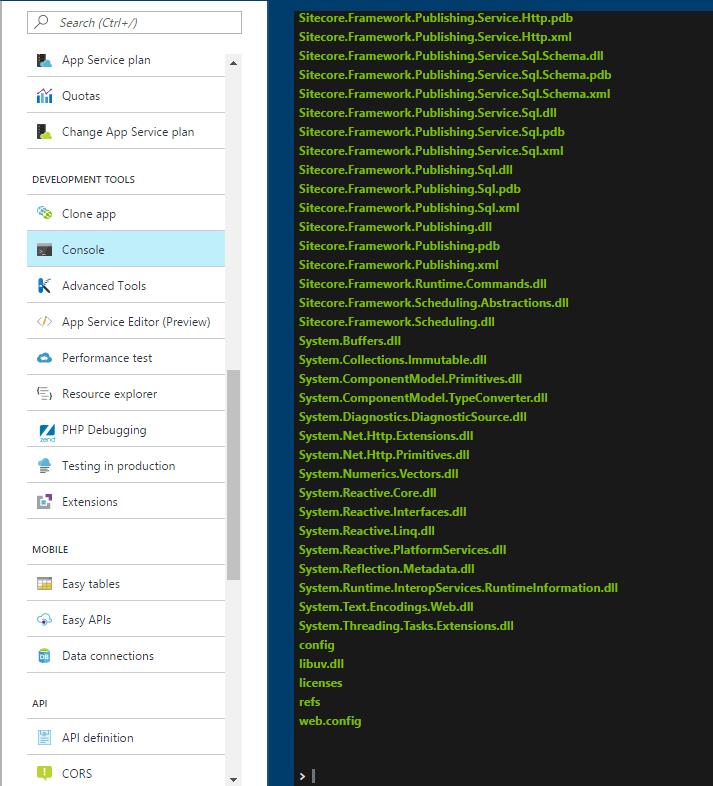
now when you type “ls” you should see the following
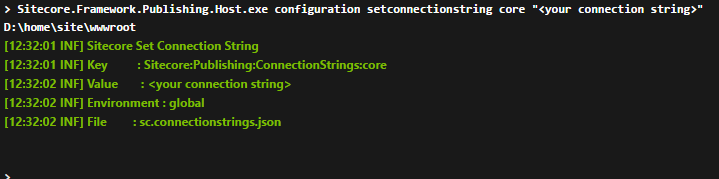
Now you will need to configure you connection strings. To do so, run the following command:
Sitecore.Framework.Publishing.Host.exe configuration setconnectionstring core “<your core db connection string>”
and do the same for master and web databases.
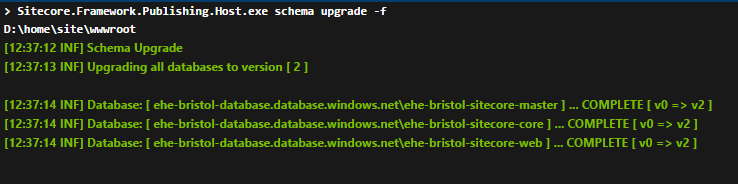
Now you are ready to upgrade the database schema by running the following command
Sitecore.Framework.Publishing.Host.exe schema upgrade -f
Congratulations, now the service is ready. To test your service, try to hit this url http://<service host or domain anme>/api/publishing/maintenance/status
The service should return status:0 in json response.
Follow the installation guide to install the module in Sitecore and configure the service url to point to the service instance hosted in Azure, and you are good to go.
Amazing and really useful article !
Just one suggestion. I found it out more easier to execute the console commands for setting up connection strings and the schema upgrade via the App Service Editor Console, because the console of the web app doesn`t support copy pasting for me in Chrome (but the unzip doesn`t work in the App Service Editor Console … go figure …).
Thanks again !
Awesome Blog!! Thanks for putting all of this together.
Thanks for share it , It’s very useful !